Find out what’s causing those unsightly hairline cracks in walls that have marred your paint job and learn how you can fix them with wall and roof waterproofing!
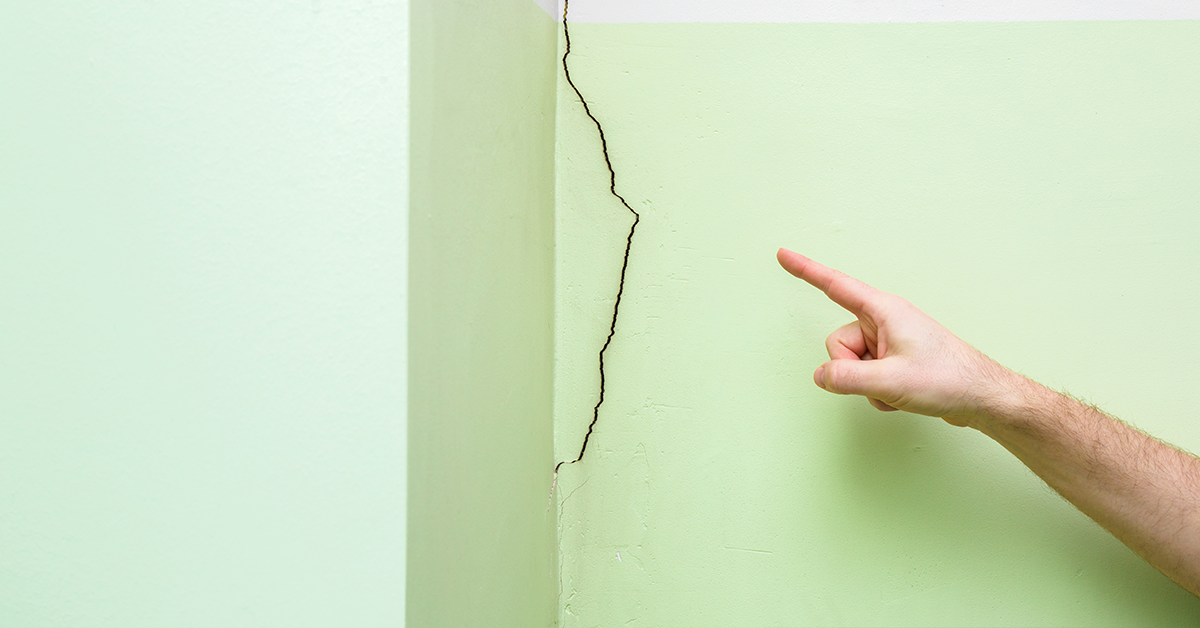
Homes with well-maintained plaster walls are highly regarded by homeowners and homebuyers due to their aesthetic appeal, durability, and excellent soundproofing capabilities. Nonetheless, it is common for plaster walls to develop cracks over time as a result of natural foundation shifts, climate changes, and daily wear and tear. In particular, door and window cracks are almost unavoidable.
Fortunately, even though cracked plaster walls may appear alarming, they can be easily repaired. You can fix narrow cracks in plaster walls with some drywall tape, joint compound to fill in gaps, and sandpaper to smooth it out. This guide will provide you with information about what causes cracks, when to be concerned about them, and the steps to take for repairing them with Berger Waterproofing Products.
What causes cracks in your wall?
- Contraction and expansion: Fluctuations in humidity levels and temperature changes can cause materials such as paint and plaster to contract and expand, leading to hairline cracks in walls located in certain areas.
- Low-quality paint: Poor paint adhesion due to inferior quality paint or using different paints for each coat can also result in cracks over time. To avoid this, it’s important to use high-quality paint consistently.
- Impatience during plasterwork: Not allowing cement plaster to dry completely before painting is a common factor attributed to cracks. Taking the time to let it dry completely can help prevent this problem.
- Poor paint job: Rushing through a paint job or not allowing previous layers to dry completely can also result in cracks. Taking the time to do a good paint job, including applying multiple layers and letting each layer dry completely, can prevent this.
How to repair hairline cracks in the concrete?
To repair a hairline crack on a concrete structure, one must fill the gap with a material that bonds well to the concrete, restores its original appearance, and prevents liquids from penetrating inside and staining the concrete.
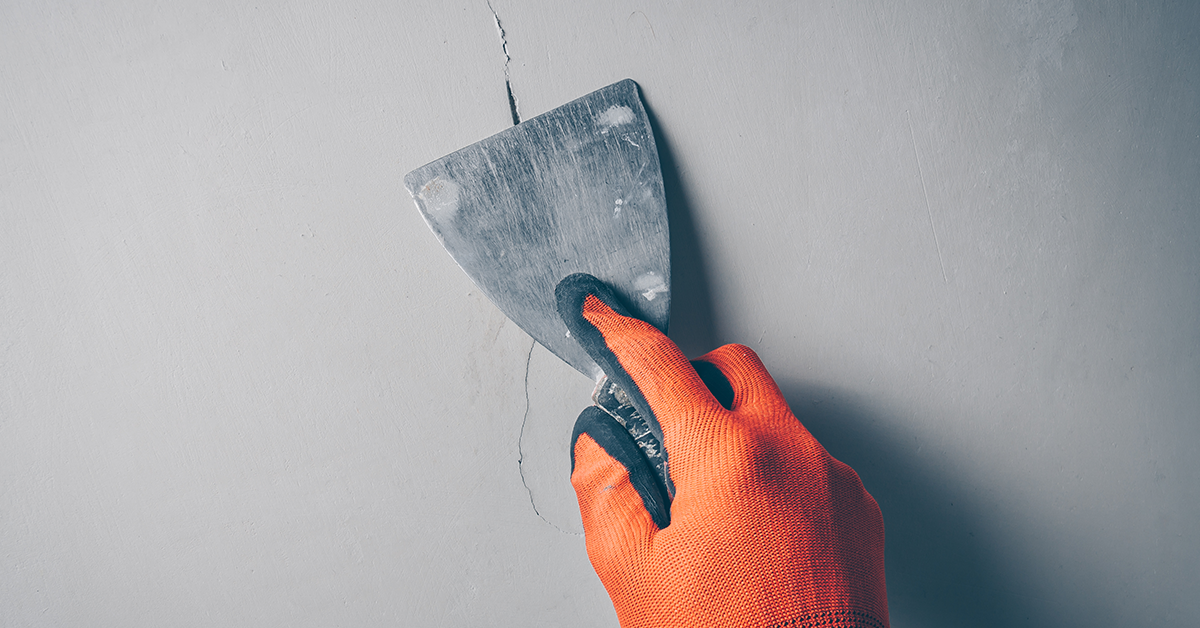
The process involves several steps, beginning with cleaning the cracked surface and making it moist before applying the sealant. The sealant is prepared by mixing cement with water or any other suitable adhesive with low surface tension and viscosity. The sealant is then forced inside the crack using a pointing trowel or putty knife, and any excess material is smoothened and leveled. Finally, the sealed cracks need to be cured by covering them with a board or plastic sheet for at least five days and sprinkling water on the surface daily.
Conclusion
If you notice any signs of cracks or dampness in your home. contact our waterproofing experts. They use concrete Moisture Meter to identify underlying causes of dampness and suggest the right Homeshield Waterproofing solutions. Our experts are always ready to help you regarding all your dampness-related concerns. To get in touch, SMS ‘HS’ to 56767 or click here: https://rb.gy/o4k6cj
If you enjoyed reading this, we suggest you take a look at Everything You Need To Know About Roof Waterproofing.


 Get in Touch
