Elevate your living space with Berger Silk GlamArt Metallica.
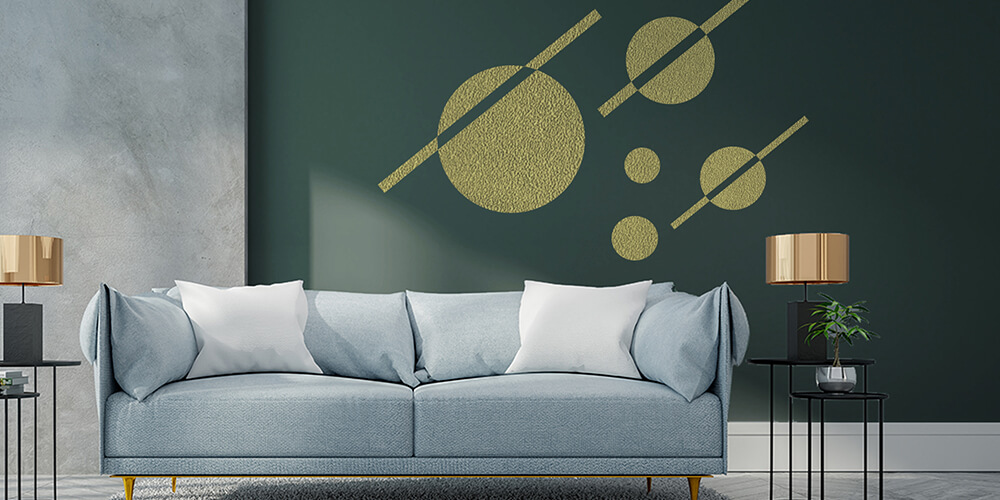

Elevate your living space with Berger Silk GlamArt Metallica.
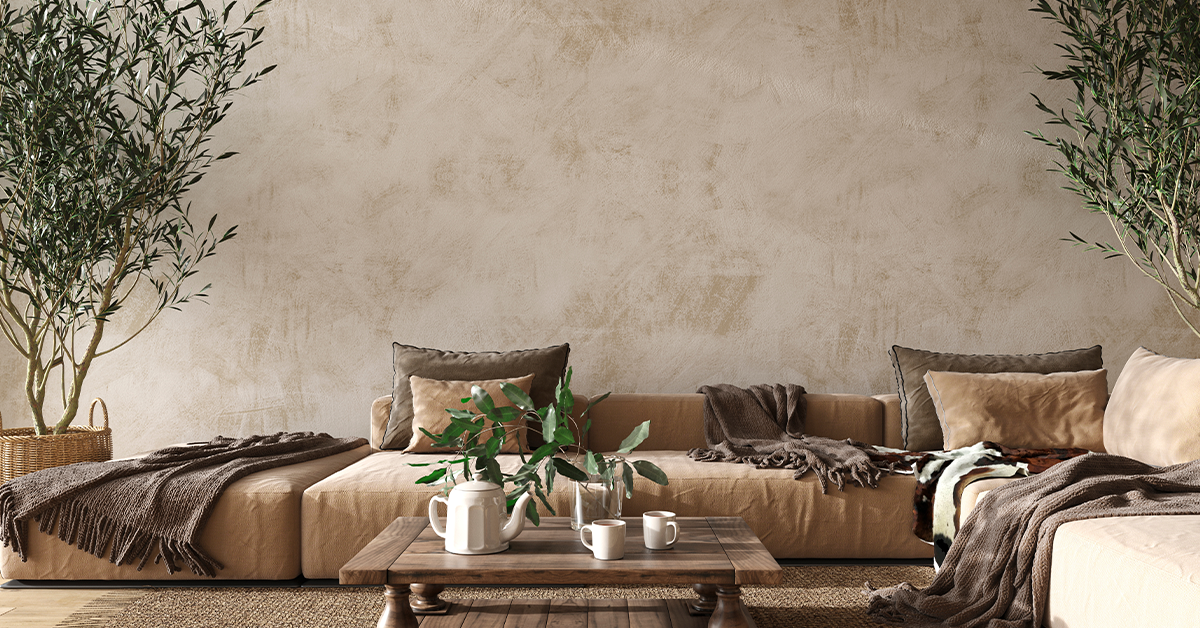
An interior design style that can be both modern and authentic, tasteful and easy-going.
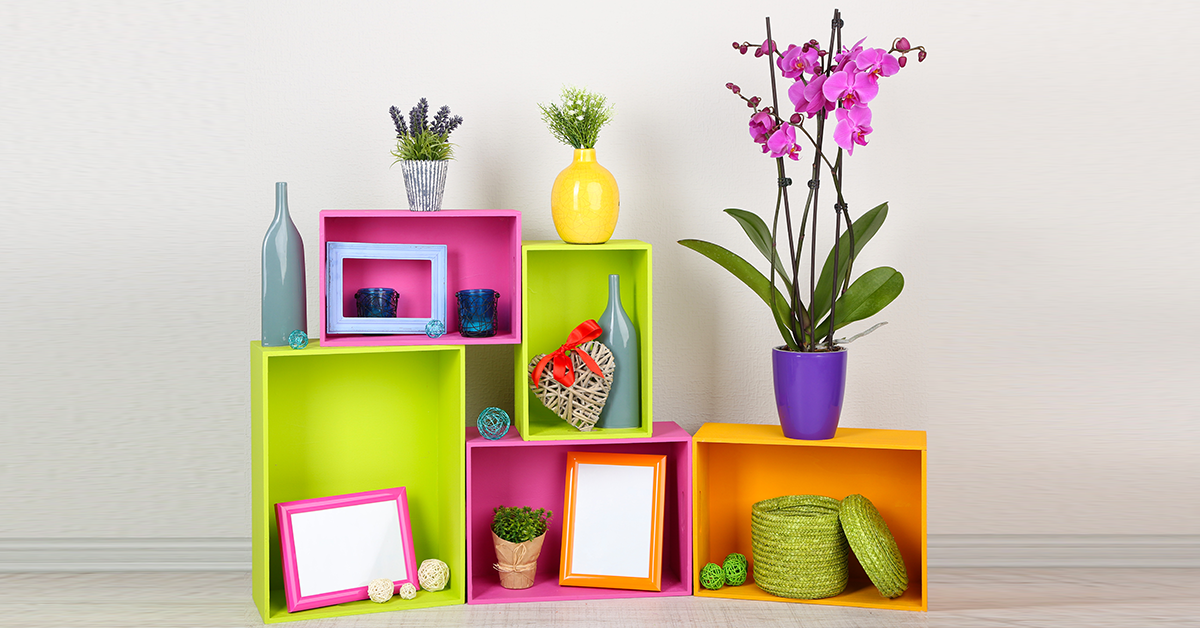
Bring some warmth to your home with these colourful summer-ready interior design styles and colour schemes.
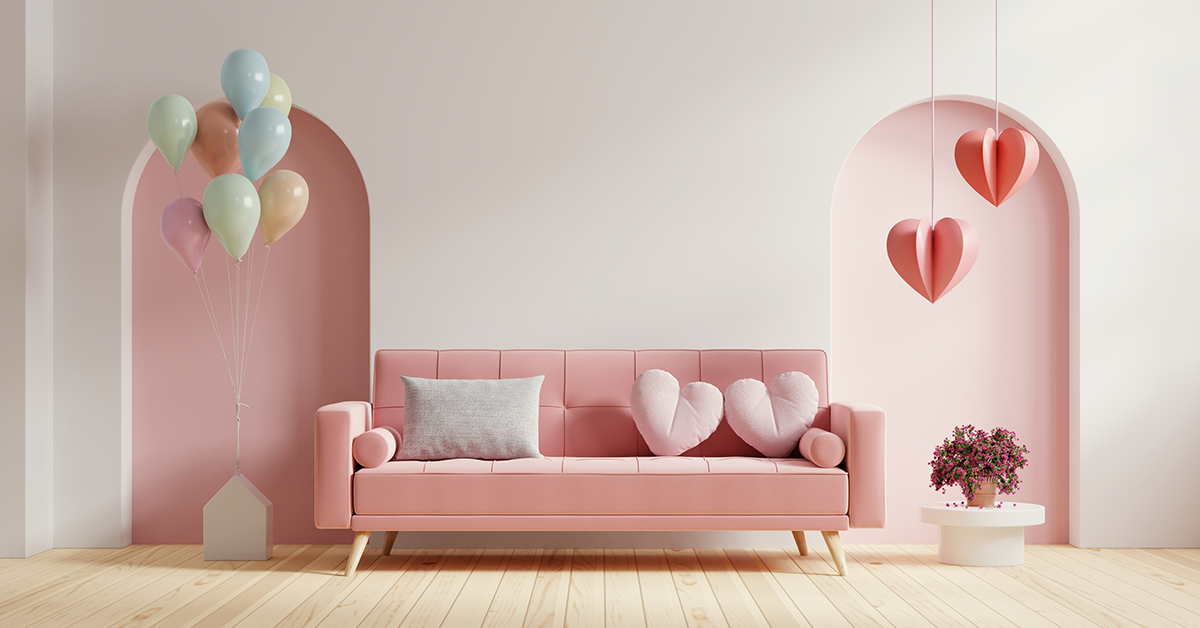
You and your beloved are in for a treat with these DIY home decor tips for Valentine’s Day. Scroll on and get crafty!

Read this blog for tips on how you can add glam to your home décor with the latest collection of Berger Silk Glamor and get set for the festive season!
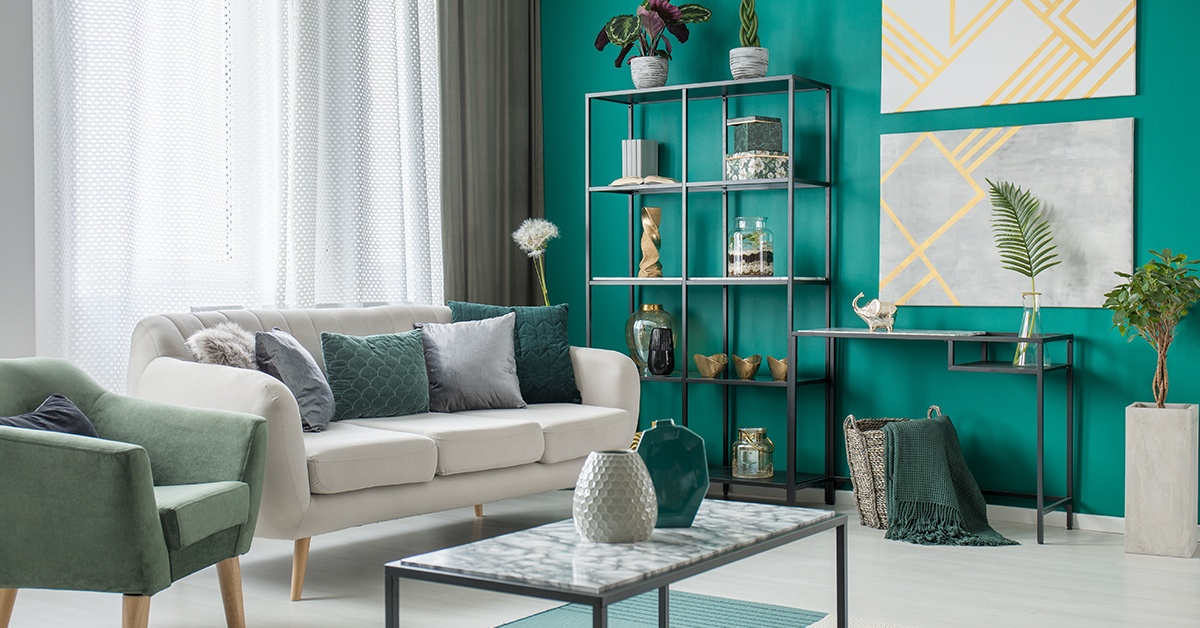
Here are some trendy ideas on home decoration for festival celebrations in the upcoming days.
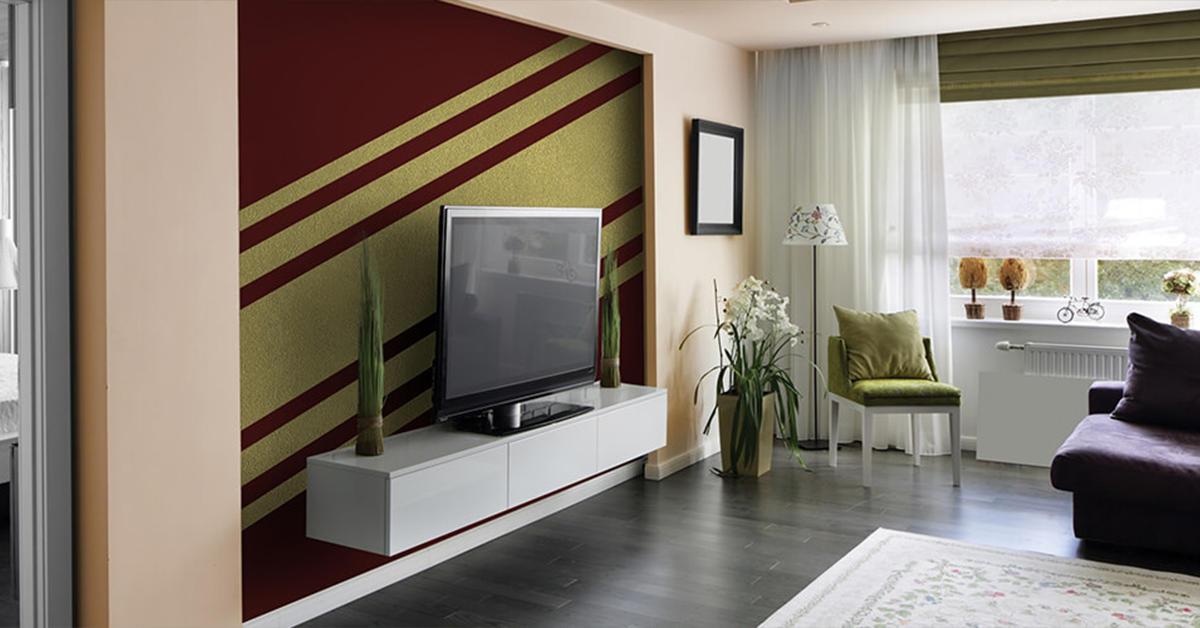
Eye-catching wall colour combinations created using Silk GlamArt Metallica to set the tone for the festive season!
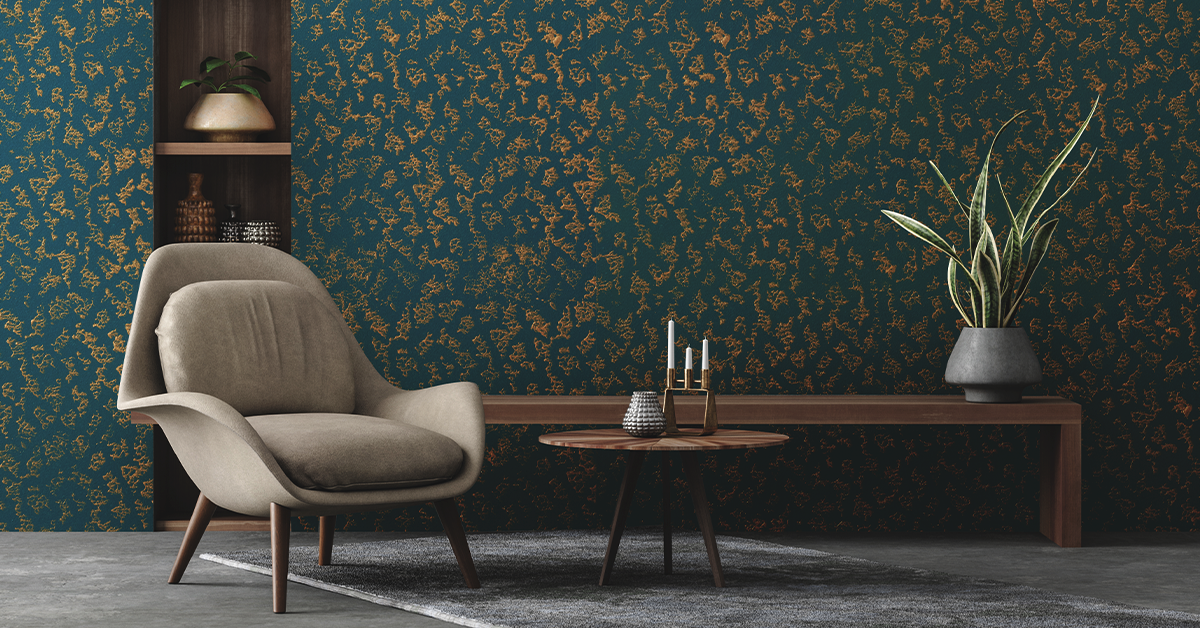
Read this blog to derive some inspiration on how to jazz up your walls and create an atmosphere for celebrations and get-togethers during the festive season.
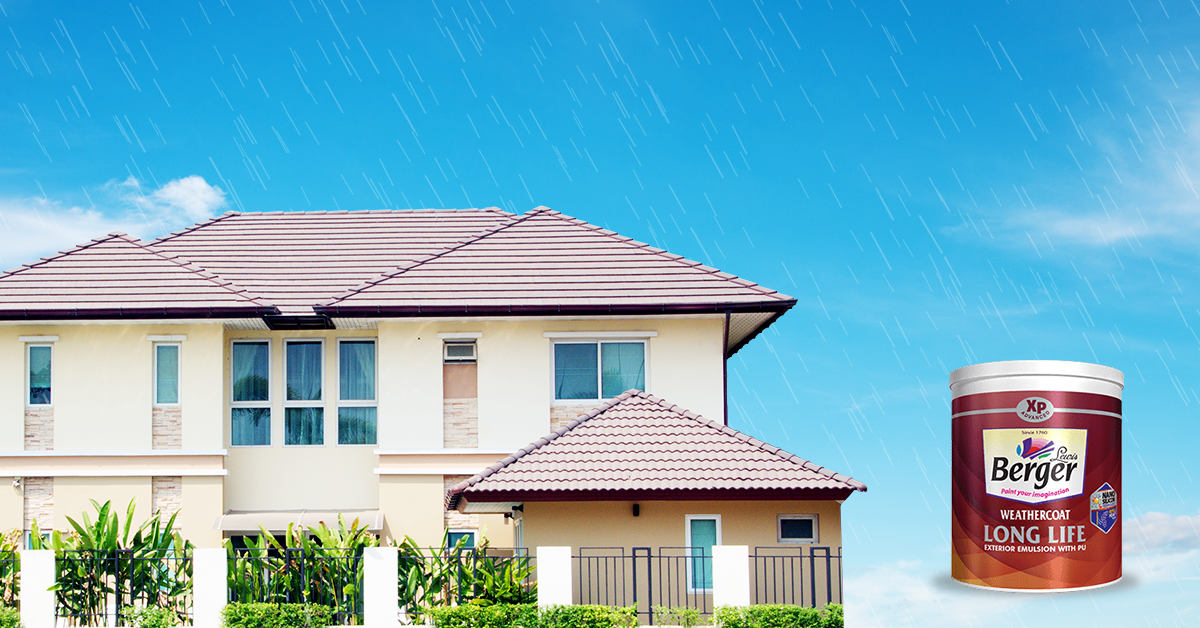
No matter how much time you spend choosing the perfect couch for your living room, if you want your home to make a good first impression, you have to start before your guests walk in through the main door. If you are aiming to increase your home’s value, you may be inadvertently influencing what people think about your home when they look at it.
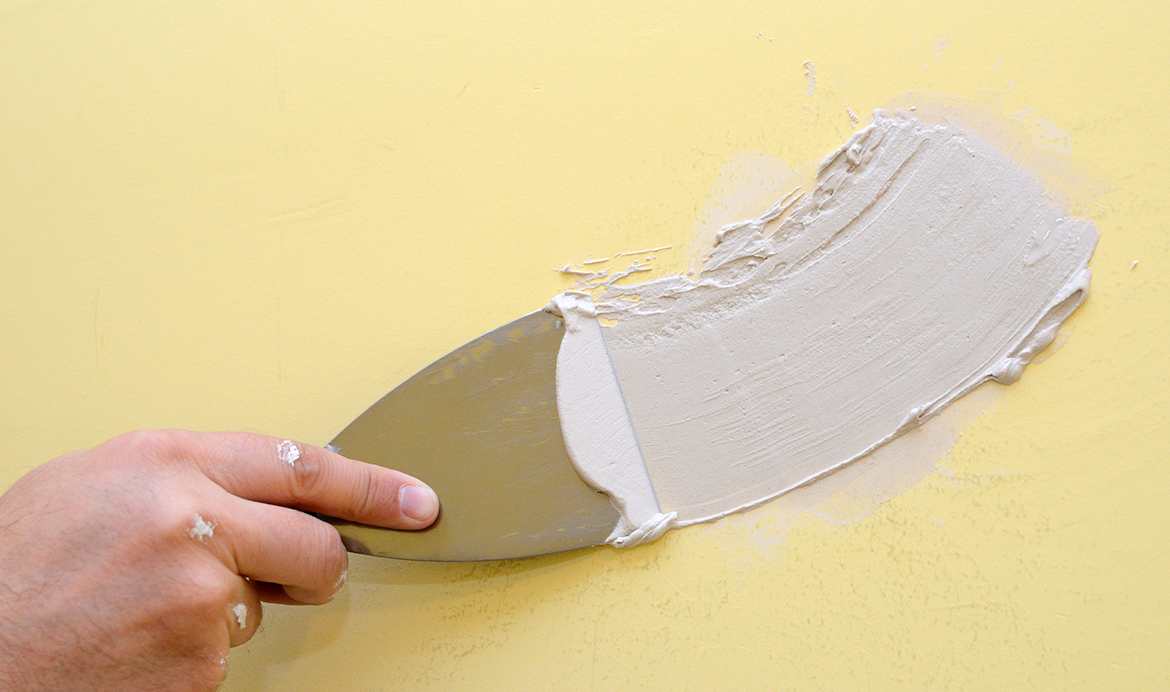
Beautify your walls with the best wall putty design in your home, bedroom wall putty design, and new wall putty texture design. Not only is it good for fixing holes, cracks, and imperfections on your wall but also used to beautify your homes.
When applying paint to your home walls, the term “wall putty” is frequently used, and painters frequently take great care to apply various wall putty designs and textures in the most effective way possible. It is a sensible thing to think about. You need to know why to use modern wall putty texture design and how to use putty in walls to improve the longevity of paint before you can comprehend and calculate the paint’s lifespan on your home walls.
Unlike a building, paint doesn’t last longer unless applied to a suitable surface. In addition to the kind of paint and the way it is applied, the life of paint also depends on the substrate and the amount of moisture present. The application of wall putty is crucial in this situation.
White cement, known as “wall putty”, is created from white powder, including premium polymer and minerals. Wall putty designs can be applied on rendered walls, precast walls, aerated light-weight blocks, concrete, etc.,. It can also be used on walls with minor holes, cracks, or other damages. The walls are perfectly finished with a new wall putty texture design. Usually, it is carried out before the final painting of the walls.
Cement-based wall putty and Acrylic wall putty are the two kinds of wall putty. You can directly apply acrylic wall putty, which is in the form of a paste, to the walls. They are primarily used for interior walls. Contrarily, cement-based putty comes in powder form and needs to be combined with water before use. Putty made of cement is popular right now.
There are two types of wall putty – Cement-based and Acrylic wall putty for walls. The more popular type is acrylic wall putty. The paste-like version of acrylic wall putty is available and can be applied directly to the wall’s surface. These are mostly meant to be applied to interior walls. On the other hand, cement-based putty is available as a powder that must be mixed with water before use. The type of putty that is currently used the most frequently is cement-based.
Acrylic Putty: It is an acrylic putty that is water-based and made primarily for use on interior walls. This putty is a good option because it has a smooth texture and durability compared to Plaster of Paris. Because of its superior quality, acrylic putty gives walls a smooth and beautiful surface. Additionally, it helps to seal any cracks or other imperfections in the wall.
White Cement Putty: Polymer-based is one of the most popular types of wall putty currently utilised in residential buildings. White cement, minerals, and polymers make up the putty, enabling it to be used on interior and exterior walls. This putty is renowned for leaving the walls with a superb finish and is distinguished by its bright and smooth look. White cement wall putty is simple to use and has a strong bond.
Before painting a wall, a smooth, level surface is needed, which is what wall putty design and acrylic wall putty offer.
The wall putty gives the base concrete or plastered surfaces an excellent connection. It produces a smooth, undulation-free surface when applied to interior or exterior walls, resulting in a stunning paint finish. Here are the few benefits of wall putty:
Surface preparation:
Mixing:
Application of wall putty:
Before applying putty to the wall, apply one layer of primer and let it dry for at least 12 and preferably 24 hours. Some putty makers advise using a primer before applying putty, while others do not. Therefore, pay attention to the manufacturer’s instructions since they may be affected by the putty’s contents.
Berger provides a variety of wall putty designs to select from. Let’s find out which putty is best for walls of your home.
Bison Wall Putty: The unique composition of extremely fine cement, flexible powder polymer, cellulose, colours, and numerous other components makes up Bison Wall Putty, which is powder-based. It provides a smooth, undulation-free surface and is utilised in interior and exterior walls.
Bison Flex Putty: It is a premium quality putty made of white cement with some particular, one-of-a-kind qualities that may be used internally and externally on concrete and mortar substrates to create a smooth, aesthetically pleasing finish and lengthen the lifespan of topcoat paints.
Happy Wall Acrylic Putty: It is a water-based putty that may be used to address substrate flaws in masonry walls and is applied over an alkali-resistant Primer to produce a rich, smooth surface. Its distinctive style and butter-like substance make application simple.
Pores in walls and ceilings are filled using wall putty. Putty can be applied quickly and easily using a spray or brush for smaller jobs. On the other hand, it is a whitish powder that, when combined with water, solidifies into a hard substance that may be used to create sculptures and casts and added to lime plasters to create casts for broken limbs.
The application of putty is the first stage in achieving long-lasting painting results. If you are creating a new painting, it is crucial. Repainting with putty At least two coatings are advised. If your walls are in decent shape, you won’t need to apply putty everywhere when repainting, but you can use touch-up paint where necessary.
Wall putty is a fine white cement powder combined with water and other chemicals to form a solution applied to the wall. Applying the solution correctly fills the wall’s defects and gaps to provide an even base for your paint.
Yes, Berger Home Shield Putty is waterproof.
Typically, wall putty should last for ten years or such. However, the lifespan of the wall putty is also shortened by the paint used over it. After five to six years, the walls must be repainted, requiring the application of wall putty as a phase in the painting process.