Step 1: Pressure-Wash Walls
Remove all the dirt and dust build-up to ensure best coverage using a pressure washer. It has to be done from top to bottom in a smooth and controlled manner, overlapping each stroke by 8 inches.
Step 2: Repair Damaged Surfaces
You need to make note of all damaged surfaces of your home like wood, metal, masonry, siding or stucco. Use epoxy filler for holes or cracks using spackle knife. When dry, lightly sand using medium-grit sanding block.
Step 3: Remove Loose Paint
Once the exterior of your home is dry, look for any loose or chipped paint. Place drop cloths along the ground and remove chipped and loose paint using a paint scraper or a medium-grit sanding block.
Step 4: Caulk Trim
Use exterior caulk and caulk gun to fill any gaps between house and trim around doors and windows. If you have used mixed materials such as siding and brick, add caulk along the surface where different materials meet.
Step 5: Prime Stains
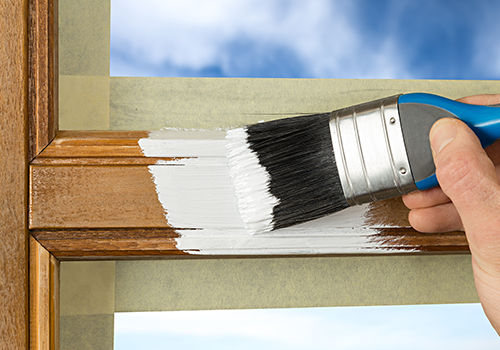
Assess the exterior for any stains or visible wood knots. Using a paintbrush, apply one coat of stain-blocking primer to the area.
Step 6: Protect Doors, Windows and Lights
Use plastic sheeting and painter's tape to cover doors, windows and lighting fixtures.
Step 7: Paint Exterior
Use a paint sprayer and work your way from top to bottom in a smooth, controlled manner, overlapping each stroke by 8 inches. While changing exterior colour from light to dark or dark to light, use a coat of primer for proper coverage. It is not necessary to use a primer when a fresh coat of existing colour is applied.
Step 8: Paint Trim and Doors

Remove all the plastic sheeting from doors, windows and lighting fixtures and paint them using a paintbrush.
There you go! Keep these steps in mind before you think of painting your home's exterior and also use the right exterior paint for your home.